How To Set Up A YouTube Channel For Maximum Growth In 2026
Creating a YouTube channel takes five minutes. Setting one up for maximum growth takes five hours. The creators who skip those five hours are the ones who wonder, six months later, why their uploads are not getting views, why their subscriber count is flat, and why the algorithm seems to ignore them.
The truth is that YouTube's algorithm makes its first assessment of a channel within the first 10-15 videos. It evaluates consistency, metadata quality, audience retention patterns, and niche clarity. If those early signals are weak, the algorithm classifies the channel as low-priority and reduces impression allocation. Recovering from that classification takes months of above-average performance.
This guide walks you through the complete process of setting up a YouTube channel the right way in 2026, not just the technical steps, but the strategic decisions that determine whether your channel grows fast or stalls.
Phase 1: Strategic Foundation (Before Creating the Channel)
The most critical decisions happen before you ever click "Create channel." These decisions determine your content direction, monetization timeline, and competitive positioning.
Niche Selection: The 3-Filter Method
Not every niche is worth entering. Use three filters to validate your choice:
Filter 1: Search Demand Exists: Use TubeHunt to verify that people are actively searching for content in your niche. A niche with no search demand forces you to rely entirely on browse and suggested traffic, which is harder to capture as a new channel.
Filter 2: Monetization Path Is Clear: Every niche should have at least one clear monetization path: AdSense, affiliate marketing, sponsorships, digital products, or services. If you cannot name how you will earn from the niche within six months, pick a different one.
Filter 3: Production Is Sustainable: A niche that requires daily uploads of highly produced content will burn you out if you are a solo creator. A niche that allows batch production, templated workflows, or automation is more sustainable. Faceless and automation channels should prioritize niches where screen recordings, voiceovers, and stock footage are standard.
Channel Naming and Brand Architecture
Your channel name should do two things: be memorable and signal your niche. Not necessarily describe it, but at least, remember it.
Strong names: "Budget Breakdown" (finance), "Code Canvas" (programming tutorials), "Gear Grid" (tech reviews).
Weak names: "John Smith Vlogs" (no niche signal), "The Everything Channel" (no focus), "Random Thoughts" (no searchability).
Keep it under 20 characters for mobile readability. Avoid numbers and special characters unless they are part of a recognizable brand. Secure matching handles on Instagram and Twitter if you plan to build a multi-platform presence.
Define Your Content Pillars
Content pillars are the 3-5 repeatable categories that every video in your channel will fall into. They create consistency for the algorithm and predictability for the audience.
Example for a finance automation channel:
- Pillar 1: Budget tool tutorials
- Pillar 2: Passive income system breakdowns
- Pillar 3: Monthly income reports
- Pillar 4: Automation workflow guides
Every video should map to one pillar. If an idea does not fit a pillar, it is either a new pillar (which requires careful introduction) or it belongs on a different channel.
Phase 2: Technical Setup (The First Hour)
Once your strategy is defined, execute the technical setup with precision. Small errors here compound into visibility problems later.
Google Account and Brand Separation
Create a dedicated Google account for your channel. Do not use your personal Gmail. This separation protects your channel if your personal account is compromised and allows you to add team members without giving them access to your private emails.
If you plan to run multiple channels, create a Brand Account rather than a personal channel. Brand Accounts allow multiple managers, cleaner analytics separation, and easier transfer if you sell the channel later.
Channel Art and Visual Identity
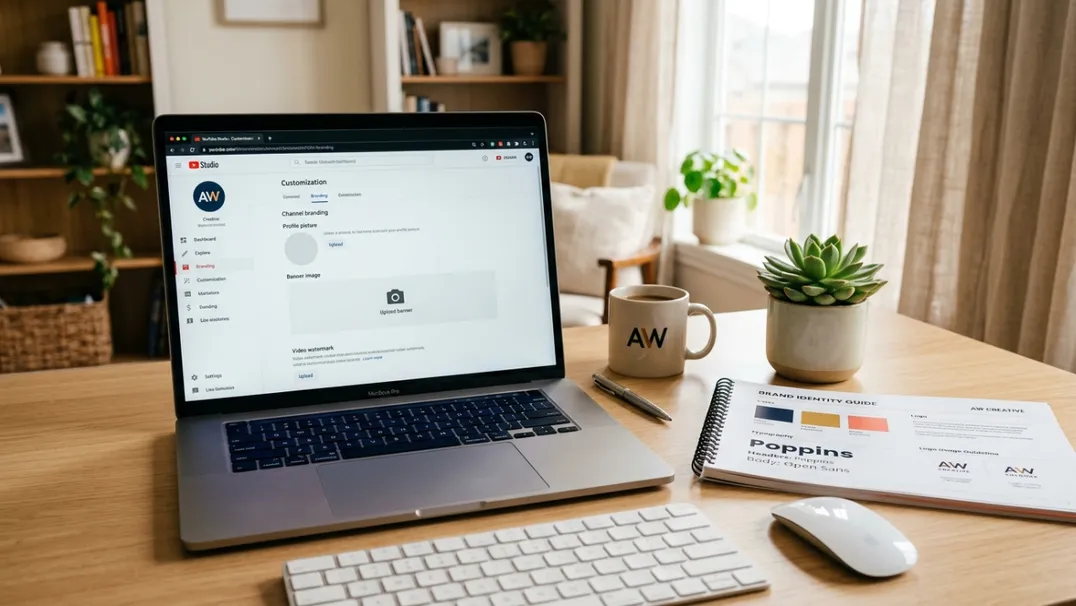
YouTube displays channel art across three surfaces: the banner (desktop and TV), the profile picture (everywhere), and the watermark (on videos). Each has specific technical requirements and strategic functions.
Banner: 2560 x 1440 pixels. The safe area (the portion visible on all devices) is 1546 x 423 pixels in the center. Put your value proposition and upload schedule in the safe area. "New videos every Tuesday and Friday. Automation tutorials for creators who want systems, not shortcuts."
Profile Picture: 800 x 800 pixels, circular crop. If you are a faceless channel, use a clean, recognizable logo or icon. If you are a personal brand, use a high-quality headshot with direct eye contact and a neutral or slightly smiling expression.
Watermark: 150 x 150 pixels. Place it in the bottom-right corner of videos, visible only in the final 30 seconds. It serves as a subtle subscription prompt without distracting from the content.
Channel Description and Links
Your channel description has two audiences: YouTube's search algorithm and potential subscribers deciding whether to follow you.
First paragraph: Who you are, what the channel covers, and what the viewer will gain. Include your primary keyword naturally. "This channel teaches YouTube automation and faceless channel strategies for creators who want to build scalable content systems."
Second paragraph: Upload schedule and content pillars. "Every Tuesday: niche research tutorials. Every Friday: income reports and workflow breakdowns."
Third paragraph: Links to your website, newsletter, or social profiles. Use trackable URLs so you know which traffic comes from YouTube.
Basic Info and Contact Details
In YouTube Studio → Settings → Channel → Basic Info, add:
- Keywords: 5-7 terms that describe your niche. These help YouTube categorize your channel in search and suggested algorithms
- Country: Set to your primary audience country, not necessarily where you live. If you target the US market, set country to United States
- Contact: Add a business email for sponsorship inquiries. Even small channels receive offers if their niche is monetizable
Phase 3: Content Infrastructure (The First Week)
Before uploading your first video, build the systems that make consistent production possible.
Create a Content Calendar
A content calendar is not optional for growth channels. It is the mechanism that transforms sporadic creativity into compounding momentum.
Plan your first 12 videos before uploading anything. This gives you three months of content at one video per week, or six weeks at two videos per week. For each video, define: topic, target keyword, thumbnail concept, and script deadline.
Use TubeHunt to validate that your first 12 topics have validated search demand and are not oversaturated. If three of your planned topics are in dying niches, replace them before you invest production time.
Build a Thumbnail Template Library
Thumbnails are the single highest-leverage optimization element. Do not design them one at a time. Build 3-5 template styles that align with your content pillars, then customize text and images for each video.
For a faceless automation channel, effective template styles might include:
- The listicle style: Bold number + icon + short text. "7 Tools" with a gear icon
- The before-after style: Split screen showing problem vs. solution
- The data style: Large percentage or dollar figure with a supporting image
- The process style: Step number + visual representation of the workflow
Create these templates in your design software of choice (Canva, Photoshop, or Figma) and save them as reusable files.
Set Up End Screen and Card Templates
In YouTube Studio, create default end screens for each content pillar. A viewer who finishes a budget tutorial should see an end screen featuring your next budget tutorial, not a random video from a different pillar.
For info cards, set a default card that appears at the 30% mark of every video, linking to your most-viewed video or a playlist that builds session continuity.
Organize Playlists Before Uploading
Create 3-5 playlists that correspond to your content pillars. Name them with searchable phrases, not clever titles. "YouTube Automation Tutorials" ranks in search. "The Lab" does not.
Add a brief description to each playlist that includes relevant keywords. Playlists appear in search results independently of videos, giving you additional surface area for discovery.
Phase 4: The First 10 Videos (The Algorithm Test)
Your first 10 videos are not your portfolio. They are your audition. YouTube's algorithm uses these early uploads to calibrate your channel's quality score, audience match, and niche classification. If these 10 videos are inconsistent, low-retention, or scattered across topics, the algorithm will have no idea who to show your content to.
Rules for the First 10 Videos
- Stay within one pillar: If your channel is about automation, your first 10 videos should all be about automation. Do not pivot to gaming or vlogging for "variety." Variety confuses the algorithm
- Maintain consistent length: If your niche sweet spot is 12-15 minutes, every video should be in that range. Wild length variation signals inexperience
- Upload on a predictable schedule: Same day, same time, every week. The algorithm rewards predictability because it allows the system to allocate impressions confidently
- Do not delete or privatize early videos: Even if they underperform, early videos build your channel's content density and keyword footprint. Deleting them resets your progress
The Feedback Loop Between Video 1 and Video 10
After video 5, pull your analytics and answer three questions:
- Which video had the highest CTR? What did its thumbnail and title do differently? Replicate that approach
- Which video had the highest retention? What was its structure? Use that as your template
- Which search terms are driving traffic? Double down on those topics
By video 10, you should have a repeatable format that the algorithm recognizes and a content style that your early subscribers expect.
Phase 5: Monetization Preparation (Months 2-6)
Monetization should be planned from day one, not treated as a distant goal. The channels that reach the Partner Program fastest are the ones that optimize for watch time and subscriber conversion from the first upload.
The 4,000-Hour Watch Time Strategy
To reach 4,000 hours of public watch time:
- Target 12-15 minute video lengths with 50%+ average view duration
- Build playlists that encourage binge-watching
- Use end screens that feature your highest-retention videos
- Create series that bring viewers back for the next episode
At 2 videos per week, 12 minutes each, with 50% retention and 500 views per video, you will accumulate roughly 260 hours per month. At that pace, you reach 4,000 hours in approximately 15 months. Increase views to 1,000 per video and the timeline drops to 7-8 months.
Subscriber Conversion Optimization
The 1,000-subscriber threshold requires consistent conversion from viewers to subscribers. Do not ask for subscriptions in the first 30 seconds, viewers have not seen value yet. Ask at the 60% mark, after you have delivered a key insight, and again in the final 20 seconds.
Use the channel watermark as a passive subscription prompt. Enable it in YouTube Studio → Settings → Channel → Branding. Set it to appear in the final 30 seconds of every video.
FAQ
Should I create multiple channels at once?
No. Focus on one channel until it reaches monetization or clear traction. Splitting your energy across multiple channels in the early phase dilutes the quality signals that the algorithm needs to classify you.
Do I need expensive equipment to start?
No. A decent USB microphone, free editing software, and a clear script are sufficient. Many successful faceless channels started with screen recordings and basic voiceovers. Upgrade equipment after you have validated that the niche works.
How important is the channel trailer?
For new channels, more important than most creators think. A 60-90 second trailer that clearly states your niche, content pillars, upload schedule, and value proposition converts unsubscribed visitors into subscribers at 2-3x the rate of channels without trailers.
When should I apply for the Partner Program?
As soon as you hit 1,000 subscribers and 4,000 hours of public watch time. Do not wait. The review process can take 2-4 weeks, and every day of delay is lost revenue.
Can I change my niche after starting?
You can, but it resets your algorithmic classification. If you must pivot, do it gradually, introduce the new topic while continuing the old one for 4-6 videos, then phase out the old content. A sudden pivot confuses your existing audience and the recommendation system.
Set up your channel for maximum growth with TubeHunt. Use the platform to validate your niche, analyze competitor setups, and plan your first 12 videos with validated search demand.
TubeHunt.io: The best AI-Powered platform for YouTube Niche Finder.
Related: More guides on our blog · Become an affiliate · Compare TubeBuddy · Compare VidIQ